At some point several months ago, we started working on putting in a new master closet. I’d love to give you an actual month but at this point I honestly don’t even remember when we started the project. What’s our motto ’round these parts? Something about slow and steady leaves you with seven different partially finished projects 6 months after you start? Yeah, that sounds about right.
Anyway, one of the things I wanted in the closet was an area for my jewelry. I don’t have a ton but what I do have usually just ends up tangled together on the bathroom counter which leads to me spending 10 minutes trying to untangle a necklace before getting frustrated, throwing everything back down and mumbling something about jewelry being stupid anyway and my neck looks just fine naked, thank you very much. I figured I may be likely to throw fewer tantrums if my jewelry can hang nice and neat in its own little corner (on its own little chair – anyone? No music nerds here? I’ll just see myself out…). I hate having stuff all of the counters anyway so finding a place outside of the bathroom is a bonus.
I wasn’t totally sure what I wanted for jewelry organization but I knew I at least wanted my necklaces to be able to hang tangle free. Lucky for me, there are loads of other creative people out there who post their own projects and solutions and sometimes they are just easy enough for me to try myself. In this case, it was one of Emily Henderson’s Customize It projects. Here’s one of her photos from the post:
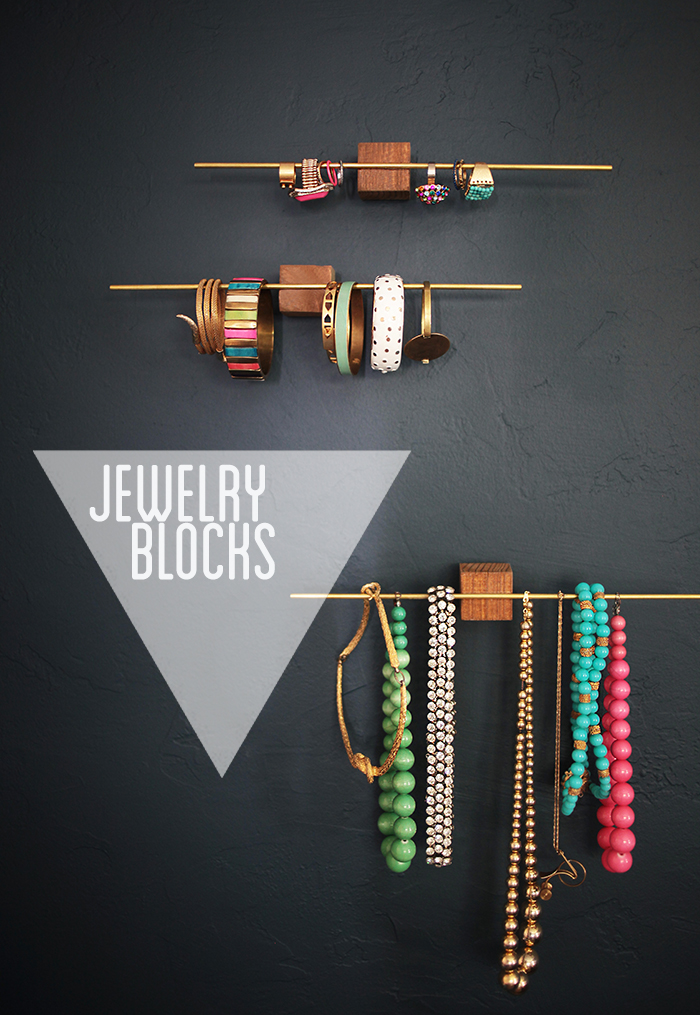
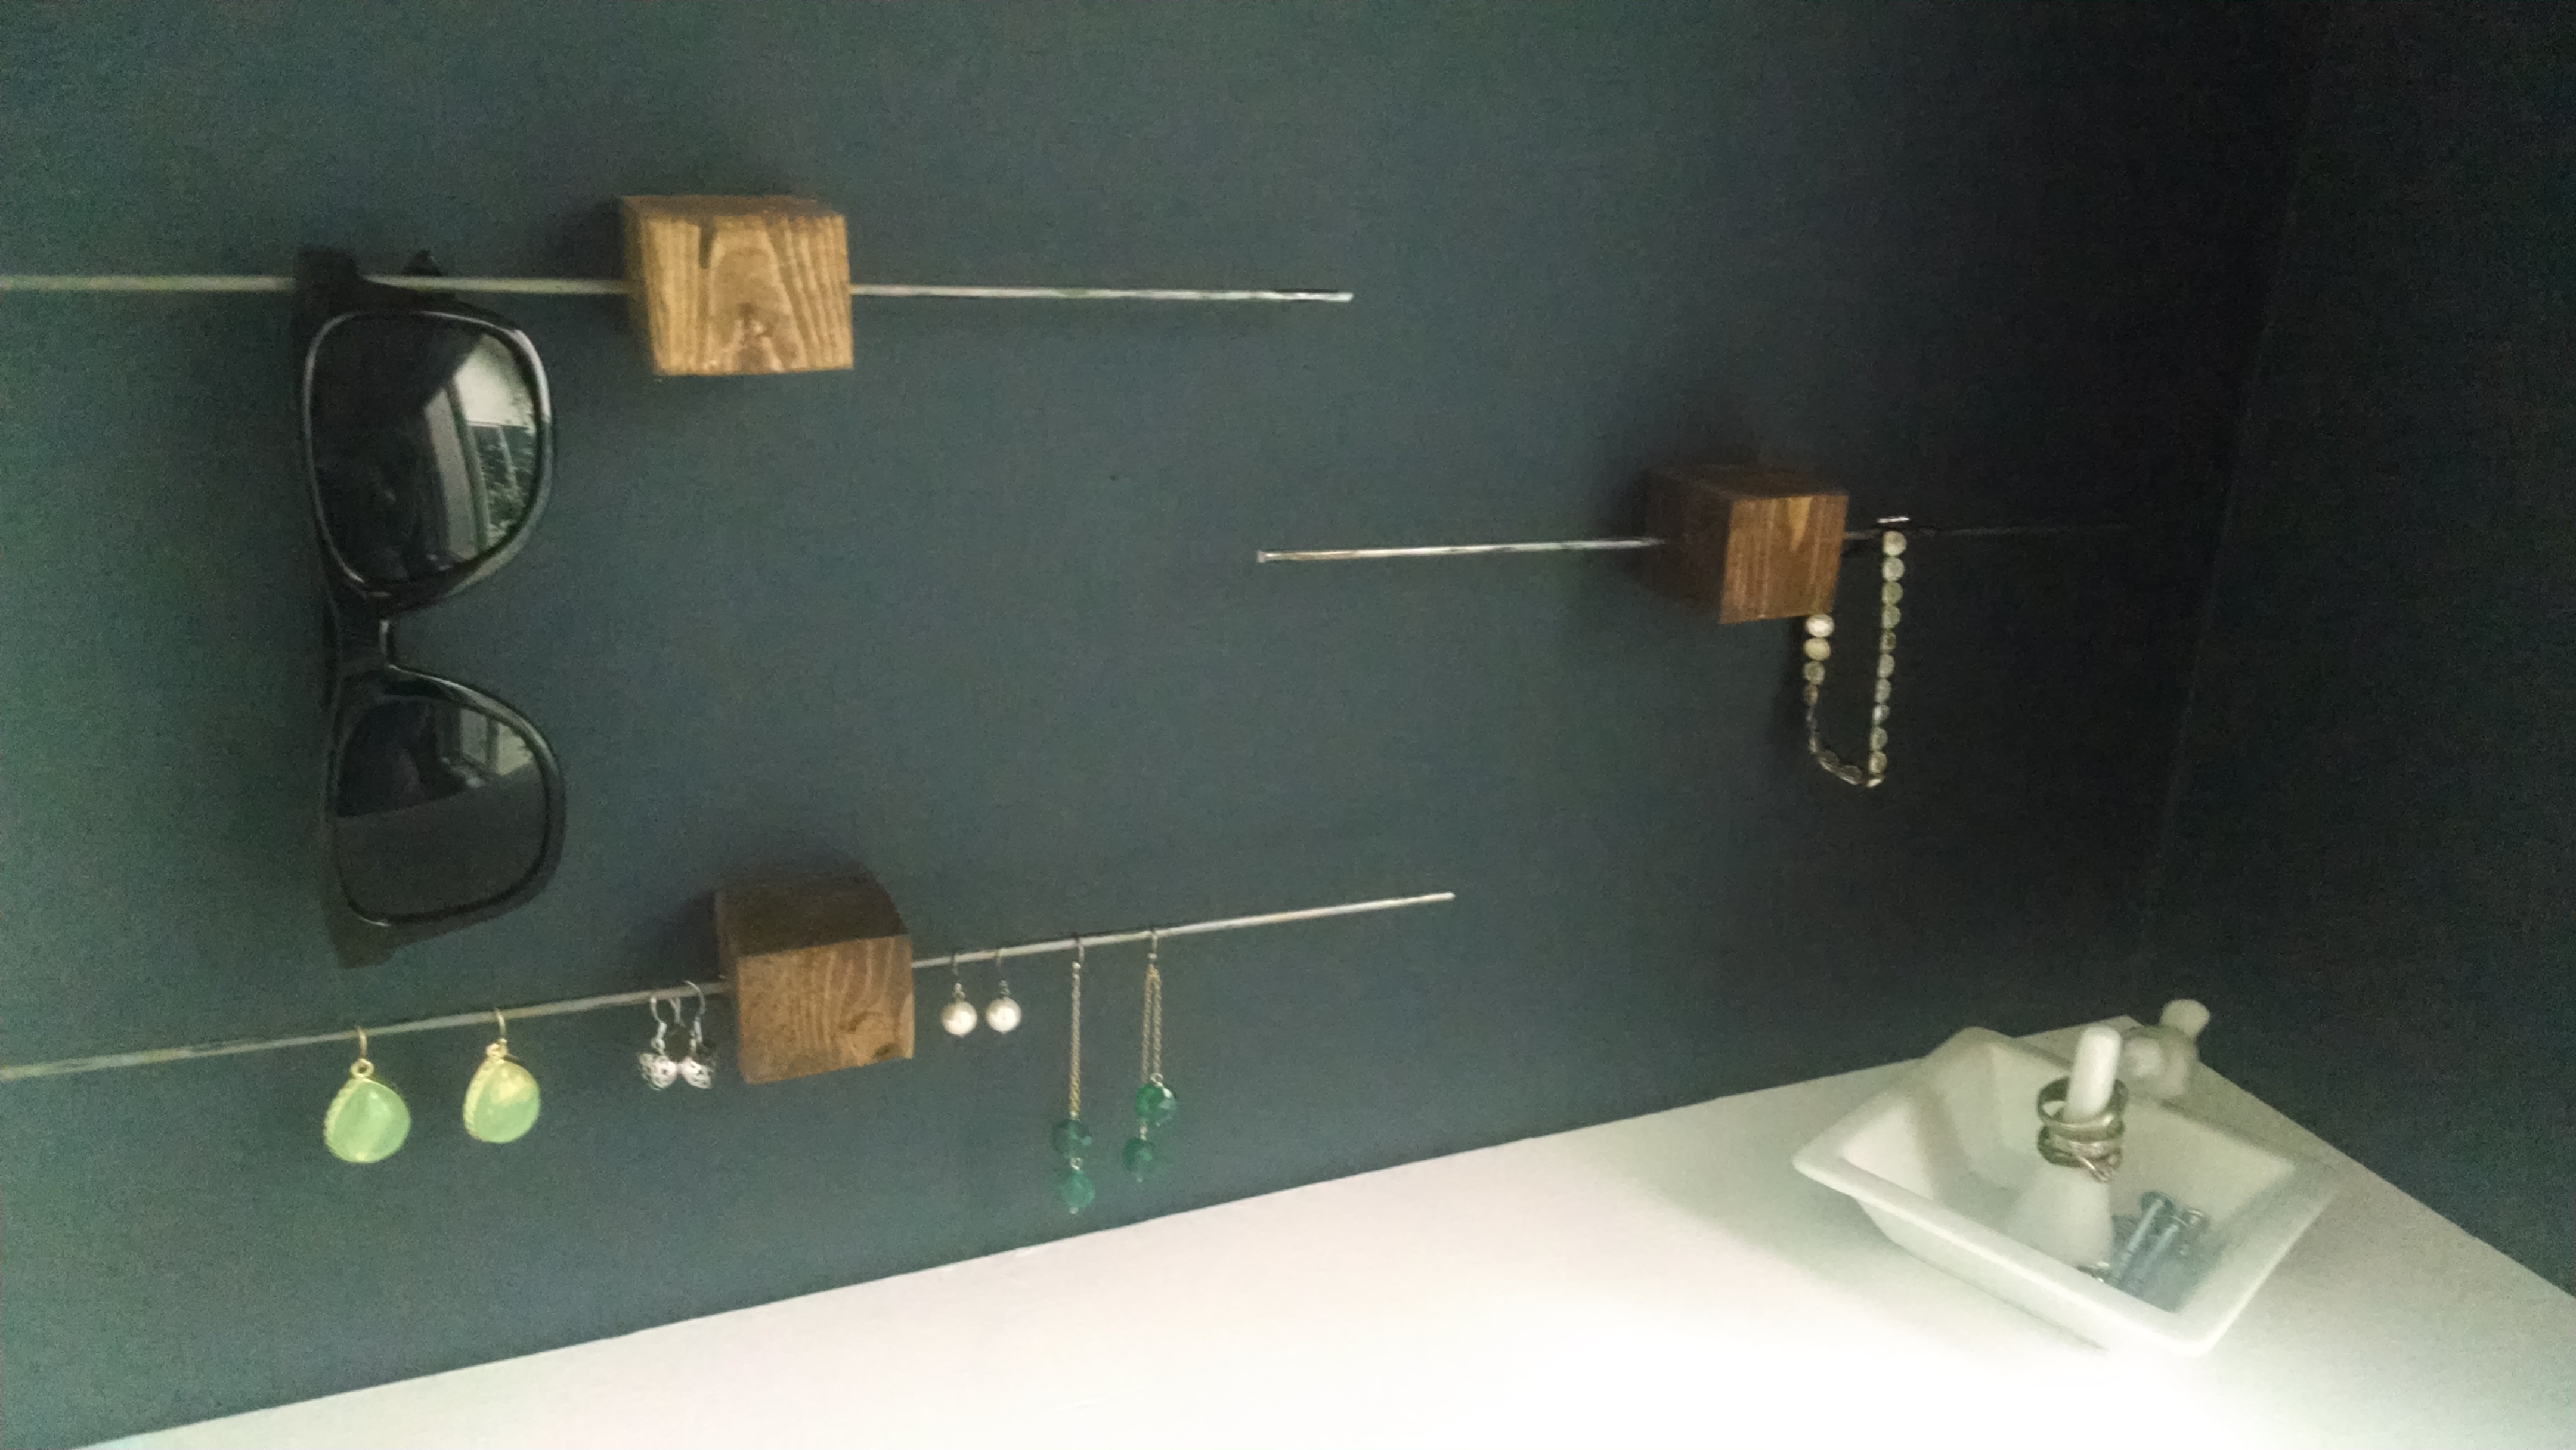
Ohhhh pretty and functional. I already had the navy wall so all I needed was the organization. Apparently, I also need more of a jewelry selection. Aren’t you so excited to compare that photo to my much lower quality photo?

Ohhhhhh blurry and poor lighting! Maybe one day I’ll learn to use this fancy camera of mine instead of relying on my handy dandy cellular phone. On that day, there will be much rejoicing.
If you’re moderately observant you’ll probably notice that mine are constructed just a little differently than Emily’s. If you’d like to make your own and prefer her style you can click the link above or the picture from her post and either will take you to her tutorial. I felt a little better about having the rod actually go through the block instead of gluing it but I think either way is pretty structurally sound. If you want to know how I made mine, keep reading.
Materials:
2×2 cut into desired size blocks (we already had one in our scrap pile – I just cut it down to whatever size I thought looked nice)
Metal rods (we just picked up one and cut it into three pieces – we got them from the section in Home Depot where the sheet metal is located if that helps)
Wood stain
Sand paper
Lint free cloth
Command strips
Drill with appropriately sized bit
Step One: Lightly sand any rough spots on your wood blocks and wipe the dust off. I just grabbed one of the sanding blocks we had on hand (not sure what grit it was)
Step Two: Use the lint free cloth to apply stain to the blocks – you can also use a brush. We had a bunch of cheese cloth sitting around the garage so I used some of that.
Step Three: Using a small bit, drill a hole directly in the center of the block. Make sure the bit you use will create a hole that’s large enough to insert the dowel without giving it a lot of room to move on its own. This was the hardest part because I didn’t have a good way to keep everything level – it was really a guess and check scenario and I just got everything as level as I could. A drill press would come in handy here.
Step Four: Cut your dowels to the size you’d like and push through the block. Remember, there should be just enough wiggle room to get the dowel through and adjust as needed. You don’t want it to be able to slide around whenever it feels like it. Side note: You’ll want to wipe these down first since they come with a bit of grease on them.
Step Five: Using the directions for the specific command strips you bought, apply to the back of the jewelry block and then to the wall.
Step Six: Add jewelry!
Yes, those are screws in my ring dish. So what?
I actually have one more block hanging up on the side of my currently in progress built in closet unit which is where I stash my necklaces. As soon as we finish my side of the closet I can show off the whole thing! I’m not sure how much weight these would hold but it probably mostly depends on what you use to hang them. I did have one fall off not long after I put them up but I think it’s because I didn’t let the adhesive on the command strips set long enough before I added my sunglasses (at the time there were several – I lose sunglasses like it’s my job).
And because my reveal photos were so craptastic, I will now distract you with this mischievous kitty cat. Take that, Emily Henderson!

I’m all over those jewelry blocks. I have one of those custom inserts that stack in one drawer, but the bracelets and necklaces still get tangled.
I love them! They’ve worked really well so far. I don’t have a ton of jewelry but for what I do have, they’re great.