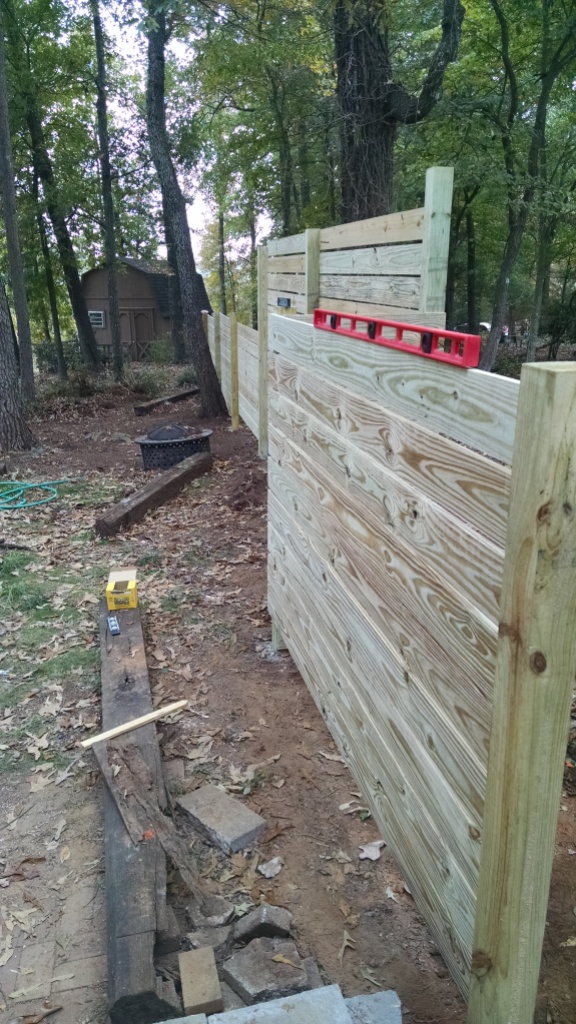
A couple of weekends ago, we finally got around to trimming down the posts and staining our fence. I had almost gotten used to the raw pine look and comically tall fence posts.

Since we only have a small portion of fencing in at this point, we were able to knock out the staining in a weekend. Going into it, we weren’t sure if we wanted one or two coats but we ended up loving it after one so we stopped there. Here’s what we did:
Step One: Trim posts. Kyle bought a 9″ blade for the reciprocal saw and knocked this out quickly.
Step Two: Clean the fence. We broke out the handy dandy pressure washer for this.
Step Three: Allow fence to dry. We cleaned the fence Saturday morning and then ran some errands. By the time we got back the fence was ready for stain.
Step Four: Stain. Stain. Stain.
Step Five: Curse yourself for not staining the boards before you installed them.
Step Six: Stain.
Step Seven: Stretch your back.
Step Eight: Stain some more.
Step Nine: Get your brush stuck between the fence and a tree.

Step Ten: Stain even more.
Step Eleven: Allow fence to dry.
Step Twelve: Top posts with solar light caps.
We finished up late Sunday afternoon and love how it turned out! Here’s a progress shot that shows the new stain vs. the raw lumber.

Our yard is a disaster but at least we have a pretty fence now. Baby steps.
Before:
After:

There’s still a ton to do but maybe in about 20 years it’ll all come together.
Leave a Reply