The House on the Hill

Renovating a house from the 70s in the South.

  • Home
  • About
  • Get In Touch
  • House Tour

Seattle

October 7, 2014

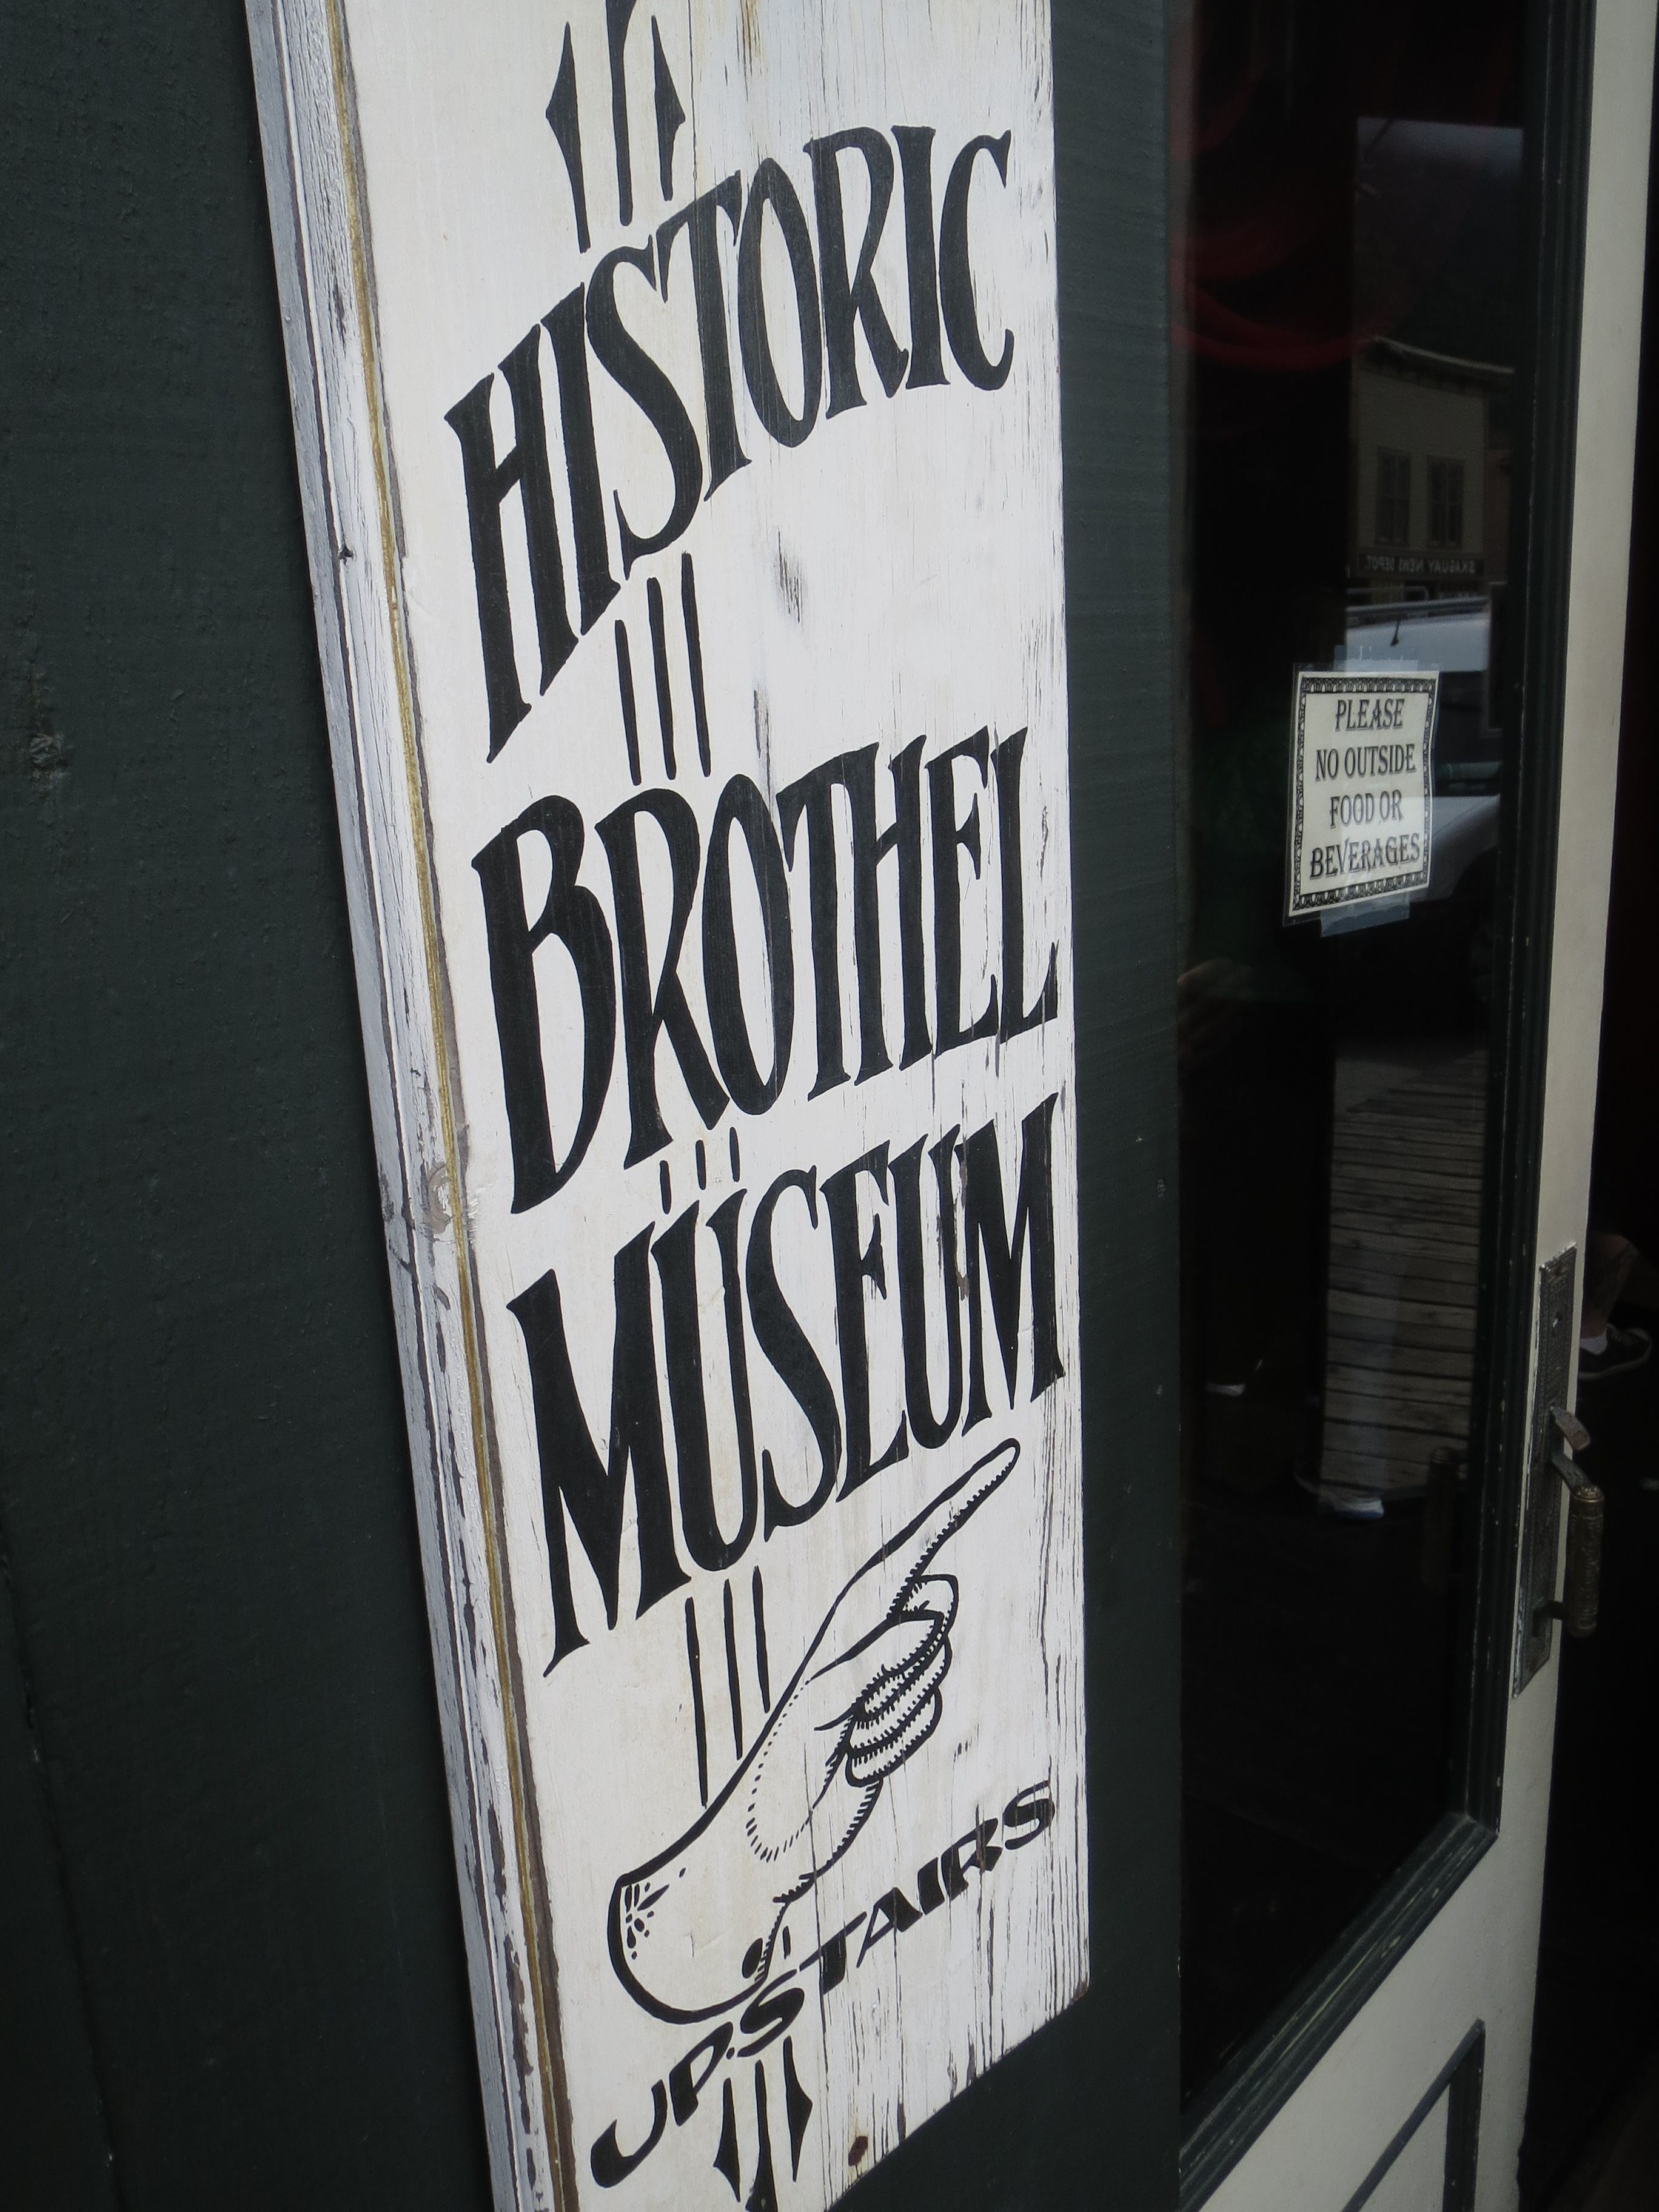
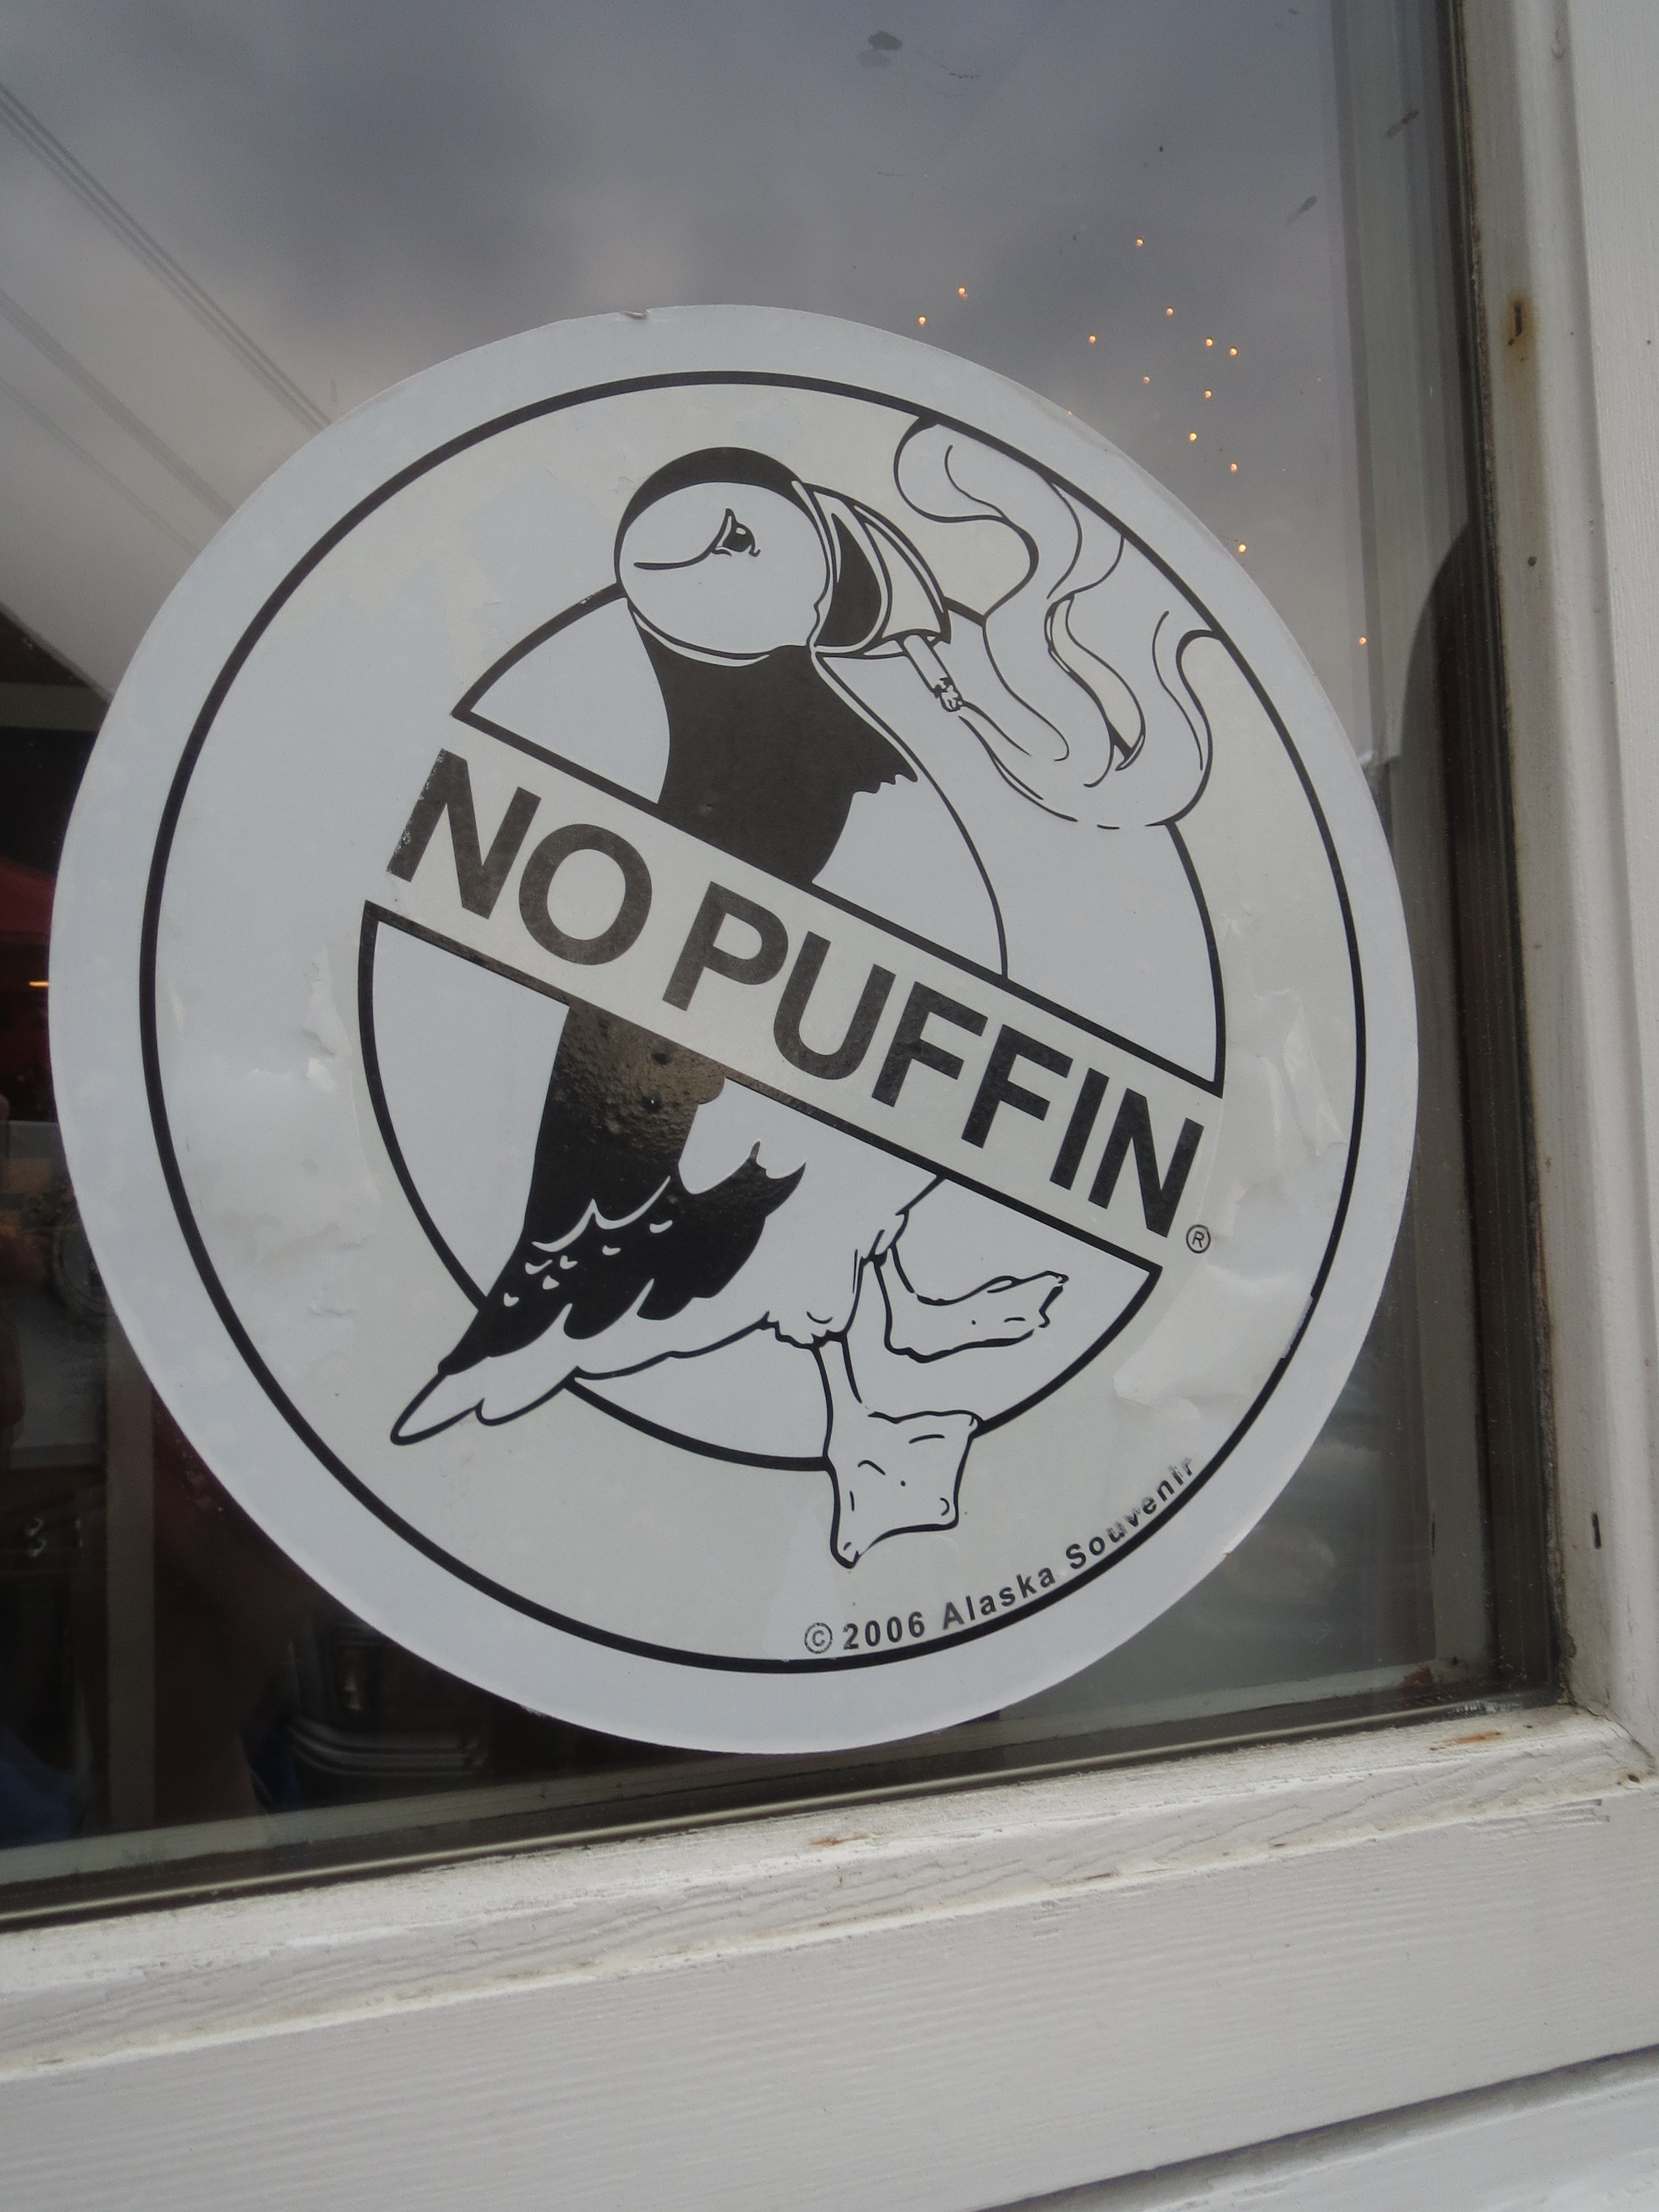
I had planned on posting this right after the Victoria post but I got hit pretty hard with some sort of crud and I’ve been recovering the last few days. I’m finally starting to feel better but we are behind on the bathroom because of it. Womp, womp. I had a whole post dedicated to Seattle but I realized I wasn’t actually saying much so I decided to just post a handful of pictures. If you have any questions though feel free to post them and I’ll try to answer!

Seattle_aquarium Seattle_beechers Seattle_bookstore Seattle_hammer Seattle_market Seattle_market2 Seattle_marketflowers

IMG_3835 IMG_3841

Our Great Alaskan Adventure: Victoria

October 2, 2014

I had planned on combining our stops in Victoria and Seattle into one post but it felt a little long so I’m going to break them up but I promise once this is all over I have some house progress to share.

If you missed out, you can go back and read about our stops in Ketchikan, Juneau, and Skagway. Our last stop before returning to Seattle was Victoria, British Columbia which is obviously not in Alaska but since it was still part of our Alaskan cruise, I decided to stick with the blog title.

victoria_bear

I really enjoyed our stop in Victoria, but it was way too short and it was in the evening so we didn’t feel like we had a lot of daylight time to explore the way we wanted. We didn’t go to any of the gardens although we heard they’re amazing.

victoria_bookstore

We mostly just walked around the waterfront and wandered through the shops.

victoria_building

We grabbed dinner at a place called the Local.

victoria_localentrance

Oh man, this place. The food was really good and the atmosphere was pretty cool. We sat out on the patio which meant we got in some serious people watching.

victoria_localpatio

We decided to order a few different things to share: crab artichoke dip, prawn pizza, and calamari. The pizza was insane! I was a little nervous about seafood on a pizza but it was probably the best thing we had off the boat. No pictures because the food looked too good to take the time.

I’d love to go back to Victoria and spend a little more time discovering the city.

victoria

We left Victoria around midnight and arrived in Seattle early the next morning.

Anyway, tomorrow I’ll share the details of our Seattle trip and hopefully by Tuesday I’ll have a full bathroom reveal to show off! Here’s your treat for making it to the end (although if you follow me on instagram @jmens6 then you’ve already seen this).

halfbathtrim

Our Great Alaskan Adventure: Skagway

September 24, 2014

I am so pumped to tell you guys about Skagway!

IMG_0946

Out of all the places we visited, this was my absolute favorite. I told Kyle that if we ever get rich, we’re opening up a shop here during tourist season and we’ll head home for the other half of the year.

IMG_0855

IMG_0841 IMG_0842 IMG_0844 IMG_0852 IMG_0861 IMG_0866 IMG_0869

The town was super cute and we had some amazing food. Before our excursion, we had a little bit of time to explore and stop in Skagway Brewing Co for lunch. While it was pretty expensive, the food and drinks were incredible.

IMG_0864

After lunch, we headed back to the dock to grab the bus to our next stop: dog sledding!

IMG_0948

If you know me at all, it shouldn’t be any shock that I chose an experience that allowed me to play with puppies. First, we hopped in this crazy all-terrain vehicle called a Unimog.

IMG_0949

This took us up the mountain to the training track.

IMG_0953

When we got to the track, we all hopped on 6-person sleds and were pulled around the 1 mile trail. It was incredible to see these dogs in action.

IMG_0962

The way they obeyed commands and knew exactly where they needed to go was pretty neat. Especially when I think about the fact that Barley and Otter only know the command “come” when it’s time for dinner. Actually, they really just hear the food bag and come running but we’ll pretend they’re listening to us.

Anyway, after the dogs pulled us around the track we got to give them lots of love and attention.The coloring on these guys made me think of our babies back home.

sledbabies

This was our musher’s lead dog. He was very sweet and would smack his head against you if you stopped petting him.

leaddog

After the track, we went back down to camp where we learned a little bit about how the dogs are trained and a bit about how things work in races like the Iditarod.

IMG_0983

And then, perhaps most importantly, we got to snuggle puppies!

IMG_0990 sledpuppy

I tried to smuggle one back to the ship but sadly, it didn’t work out.

After all of the puppy love, we hopped the bus back to town. The views were incredible and we spotted a bald eagle (one of many on the trip).

IMG_1030 IMG_1037 IMG_1023

Once we got back to town, we decided to wander around a good deal more and pick up a couple of trinkets. We also stopped by a place called The Sippin Sasquatch and grabbed a reindeer dog to share.

IMG_1054 IMG_1055 IMG_1059

What’s that? You want to see more photos of my favorite place in the world? You got it, dude.

IMG_1050 IMG_0875 IMG_0877 IMG_0886 IMG_0891 IMG_0894

Next time, I’ll wrap up the vacation recap with a look at our stop in Victoria, British Columbia and our weekend stay in Seattle.

Our Great Alaskan Adventure: Tracy Arm Fjord and Juneau

September 22, 2014

After we left Ketchikan, we headed to the Tracy Arm Fjord to do a little scenic cruising and see the Sawyer Glacier.

IMG_3359

This part of the trip totally blew me away. I must have taken a few hundred photos because everything was just so freaking gorgeous.

IMG_3316

The Tracy Arm Fjord basically dead ends into the Sawyer Glacier so our cruise ship went all the way down and then turned around at the glacier and headed back to open water. When we booked, we decided to splurge for a room with a balcony (this was our anniversary present to each other this year after all) and I am SO glad we did! It was nice to be able to just roll out of bed, bundle up, and lounge on our balcony while taking in the scenery. This is the only part of the trip that was really cold.

IMG_3387 bundled

Once we got to the glacier, we tried to go get a better view at the top of the ship but honestly we probably could have just stayed in our room. Here are a few more photos from the scenic cruise back out of the Fjord.

IMG_3409 IMG_3420 IMG_3441 IMG_3485 IMG_3538

Later that afternoon, we docked in Juneau!

We booked an excursion for this port so we went straight from the ship to a bus which took us to a cooking demo, the Mendenhall Glacier, and Alaskan Brewing Co. Our bus driver’s name was Cody and he was awesome. He was incredibly friendly and told us tons of stories and fun facts about Juneau as well as himself. He had also just gotten engaged (Congrats again, Cody!).

The cooking demo was our first stop. The food was amazing and the complimentary wine didn’t hurt.

cookingdemo

Our next stop was the Mendenhall Glacier.

IMG_0799 IMG_0801 IMG_0802

We didn’t have very long here but we did have just enough time to make the easy hike to the falls near the glacier and then back to the bus.

IMG_0806 IMG_0813

Our last stop of the day was Alaskan Brewing Co.

alaskanbrewingexterior

We got a guided tasting here but I didn’t actually try any of the beer. Kyle did though and he really enjoyed it. There were a couple of tour groups in the tasting room at the same time so I opted to spend most of the time in the hallway right outside. At this point, I wasn’t feeling very well at all. I think it’s because I hadn’t had very much to eat up to that point and it was starting to get to me so I would definitely recommend keeping snacks in your bag (I’ll do a separate post about tips on packing for a trip like this).

alaskanbrewingtastingroom

After the brewery, Cody dropped us off downtown and we spent a little time exploring. We didn’t have time to do much in town since we had a dinner reservation at one of the ship’s specialty restaurants that evening but we hit some of the most popular spots.

IMG_0814 IMG_0816 IMG_0817

I think next time, we’ll opt to skip excursions and just explore Juneau instead. We loved the excursion we did but it would have been nice to have a little more time in the day to wander around. Juneau is also the only port where we didn’t in town at all (other than the snack at the cooking demo).

IMG_0820 IMG_0822 IMG_0829 IMG_0832 IMG_0835

Next stop: Skagway!

Psssssst! We’ve made a little bit of progress on the bathroom project. Here’s a little look at where we’re at. Drywall work is done, the first coats of paint are up, and we put the new light fixture in. Crappy night time camera phone photo alert.

halfbathpaint

Our Great Alaskan Adventure: Ketchikan

September 17, 2014

We are home from an amazing 10 day vacation and starting to adjust to real life again (I have to make my own bed?! I don’t get creme brulee for dinner every night? Take me baaaaaack). I don’t have any house progress to share so instead I’m going to bore you with lots of vacation pictures and stories. Sounds like fun, right?

We don’t go on vacation very often (or ever, really) but this year worked out to where we could take some time away and it was incredible. We went on a 7 night cruise to Alaska and then spent a couple of nights in Seattle before heading back home. Before we set sail, we had a pretty awesome view of the city.

IMG_3279Our first stop on the cruise was Ketchikan.

IMG_0647

We didn’t book any excursions so we spent most of the day exploring and spending way too much money.

IMG_0662

We encountered lots of wildlife in Ketchikan. There were bears…

IMG_0654 IMG_0655

…and a moose!

IMG_0651

IMG_0653

It was pouring down rain for most of the day, which we expected. I did end up buying a pair of cheap rain boots though because my shoes weren’t as water resistant as I thought. They were probably the best purchase we made all trip and I ended up wearing them in a couple of the ports.

IMG_0658

Ketchikan was such a cool place to walk around. This staircase led to a house. Can you imagine hiking these?

IMG_0699

There were a ton of fish in this stream. I was tempted to try my luck at a little hand fishing but I’m pretty sure I would have ended up face planting in the mud.

IMG_0705Oh hey, look who I found.

IMG_0697

There were a ton of totems.

IMG_0712 IMG_0687Plus some really cute buildings.

IMG_0723 IMG_0692

IMG_0724

IMG_0671

Not to mention the scandals!

IMG_0718

I thought these houses were incredible.

IMG_0732

This bookstore was really neat and it wasn’t the only bookstore we went to on our trip!

IMG_0728

This bench was in somebody’s front yard. I felt kind of sketchy taking this photo but clearly not sketchy enough to keep me from taking it.

IMG_0717

That’s pretty much it for Ketchikan! Other than wander around the only other thing we did was shop and eat. We did spot this boat though! It felt a little like there was a piece of home with us. For anyone who doesn’t know (which is probably most of you), the Paladin is our alma mater’s mascot.

IMG_0656

Next stop is Juneau!

Pre-Thanksgiving To-Do List

August 20, 2014

We’re still making slow progress on the half bathroom but nothing exciting enough to write a whole post on (drywall is in but we’re still in the mudding/taping/sanding phase) so I figured I would make another list post. I’m an obsessive list maker but a good list usually makes me feel slightly less stressed and a million times more organized. Lists soothe me.

Anyway, it looks like we’re going to be hosting at least one Thanksgiving dinner in our work in progress house this year so there are a few things that we would like to get done before then. We don’t want to rush through anything or put too much pressure on ourselves though, so we’re not trying to hold ourselves to getting every single thing done. This is more of a “Things That Would be Nice to Have Done by Thanksgiving Assuming we Have the Time and Energy” list.

These aren’t organized by priority but here they are:

1) Completely finish half bath
2) Mini upstairs bathroom makeover
3) Fix dining room table top (more on this later)
4) Refinish dining room chairs
5) Weed yard
6) Spread new grass seed
7) Re-mulch beds in front of the house
8) Remove ivy between us and our neighbor
9) Remove azaleas in back yard (front yard, too?)
10) Paint downstairs
11) Fix dining room light (more on this later)
12) Redo existing walk in pantry to add more storage
13) Get rid of cabinet in dining rom
14) Yard Sale?
15) Hang stairwell light
16) Finish first unit in master closet (more on this later)

I actually think we should be able to get all of this done but we also love to lounge around on the weekends so we’ll see which one wins out.

Demo days

August 12, 2014

After several weeks of delay, we finally made progress on our powder room over the weekend! I got tired of waiting so I grabbed my mask and glasses and started tearing down walls.

bathroomdemo1

I tried a few different methods to remove all of the old stuff like our reciprocating saw, jab saw, and my fists of steel but what I found worked best for me was to punch holes with a hammer to kind of carve out a large piece and then use the holes as hand holds to yank the drywall down. I was too in the zone to stop and take pictures so not sure if that makes any sense. One of the walls had been partially replaced before so I already knew what was behind it but I was much more careful with the other walls so that I didn’t damage any plumbing or electric. Speaking of, we turned off the electricity and used our fancy new voltage tester to make sure I wasn’t going to shock myself. Since we are putting in a different light fixture, I also went ahead and took out the sconces and set them aside until we figure out where to put them. 

bathroomdemoelectric

I wouldn’t recommend using the reciprocating saw for anything unless you know what you’re doing and I definitely wouldn’t recommend getting frustrated and trying to punch the wall because you’ll probably just hurt yourself…not that I would know that from personal experience or anything. By the way, I’m not giving you a tutorial on drywall removal so if you want to know the best way to do it, I would suggest consulting the google because I’m not a professional and don’t want to be responsible for anyone breaking anything. 

While I did most of the removal, Kyle was able to clean up the edges of the drywall that’s not being removed and he was also a big help with cleaning up. I’m much better at actually making the mess. Side note: contractor grade garbage bags are probably the best purchase we’ve made for this project so far.

bathroomdemo2

We split the demo over two days and by Sunday afternoon, we had a mostly drywall-less bathroom and all of the dust had been cleaned up.

bathroomdemoclean

Most importantly, we now have this lovely conversation piece in our foyer.

bathroomdemotoilet

I’m hoping to have the new drywall hung by the end of the week so we can use the weekend to mud and sand the seams but it’s hard for us to get motivated during the week we’ll see what happens!

DIY Jewelry Blocks

July 22, 2014

At some point several months ago, we started working on putting in a new master closet. I’d love to give you an actual month but at this point I honestly don’t even remember when we started the project. What’s our motto ’round these parts? Something about slow and steady leaves you with seven different partially finished projects 6 months after you start? Yeah, that sounds about right.

Anyway, one of the things I wanted in the closet was an area for my jewelry. I don’t have a ton but what I do have usually just ends up tangled together on the bathroom counter which leads to me spending 10 minutes trying to untangle a necklace before getting frustrated, throwing everything back down and mumbling something about jewelry being stupid anyway and my neck looks just fine naked, thank you very much. I figured I may be likely to throw fewer tantrums if my jewelry can hang nice and neat in its own little corner (on its own little chair – anyone? No music nerds here? I’ll just see myself out…). I hate having stuff all of the counters anyway so finding a place outside of the bathroom is a bonus.

I wasn’t totally sure what I wanted for jewelry organization but I knew I at least wanted my necklaces to be able to hang tangle free. Lucky for me, there are loads of other creative people out there who post their own projects and solutions and sometimes they are just easy enough for me to try myself. In this case, it was one of Emily Henderson’s Customize It projects. Here’s one of her photos from the post:

EHjewelryblocks

Ohhhh pretty and functional. I already had the navy wall so all I needed was the organization. Apparently, I also need more of a jewelry selection. Aren’t you so excited to compare that photo to my much lower quality photo?

jewelryblocks2

Ohhhhhh blurry and poor lighting! Maybe one day I’ll learn to use this fancy camera of mine instead of relying on my handy dandy cellular phone. On that day, there will be much rejoicing.

If you’re moderately observant you’ll probably notice that mine are constructed just a little differently than Emily’s. If you’d like to make your own and prefer her style you can click the link above or the picture from her post and either will take you to her tutorial. I felt a little better about having the rod actually go through the block instead of gluing it but I think either way is pretty structurally sound. If you want to know how I made mine, keep reading.

Materials:

2×2 cut into desired size blocks (we already had one in our scrap pile – I just cut it down to whatever size I thought looked nice)
Metal rods (we just picked up one and cut it into three pieces – we got them from the section in Home Depot where the sheet metal is located if that helps)
Wood stain
Sand paper
Lint free cloth
Command strips
Drill with appropriately sized bit

Step One: Lightly sand any rough spots on your wood blocks and wipe the dust off. I just grabbed one of the sanding blocks we had on hand (not sure what grit it was)

Step Two: Use the lint free cloth to apply stain to the blocks – you can also use a brush. We had a bunch of cheese cloth sitting around the garage so I used some of that.

Step Three: Using a small bit, drill a hole directly in the center of the block. Make sure the bit you use will create a hole that’s large enough to insert the dowel without giving it a lot of room to move on its own. This was the hardest part because I didn’t have a good way to keep everything level – it was really a guess and check scenario and I just got everything as level as I could. A drill press would come in handy here.

Step Four: Cut your dowels to the size you’d like and push through the block. Remember, there should be just enough wiggle room to get the dowel through and adjust as needed. You don’t want it to be able to slide around whenever it feels like it. Side note: You’ll want to wipe these down first since they come with a bit of grease on them.

Step Five: Using the directions for the specific command strips you bought, apply to the back of the jewelry block and then to the wall.

Step Six: Add jewelry!

jewelryblocks1

Yes, those are screws in my ring dish. So what?

I actually have one more block hanging up on the side of my currently in progress built in closet unit which is where I stash my necklaces. As soon as we finish my side of the closet I can show off the whole thing! I’m not sure how much weight these would hold but it probably mostly depends on what you use to hang them. I did have one fall off not long after I put them up but I think it’s because I didn’t let the adhesive on the command strips set long enough before I added my sunglasses (at the time there were several – I lose sunglasses like it’s my job).

And because my reveal photos were so craptastic, I will now distract you with this mischievous kitty cat. Take that, Emily Henderson!

jewelryblocks3

Front porch progress!

July 17, 2014

Last weekend, we decided that the new lumber we used for our front porch project was finally ready to stain. Like I mentioned before, it’s really important to let the wood fully dry out to avoid any issues (like sealing in moisture, bubbling/cracked finished, etc). The last time I showed our porch, it looked like this: IMG_2979 And now it looks like this:

IMG_3097

After we sanded down the porch and built new stairs, all we needed to do was stain and seal everything. We had some unusually gorgeous weather the weekend we started on the staining which was nice because it meant we weren’t drenched in sweat by the end of it. We started on a Sunday evening and I showed this sneak peak on Instagram: instaporchWe decided to go with an all-in-one product so that we didn’t have to worry about getting several coats done in between those lovely Southern Summer pop-up storms. We ended up using BEHR Transparent Weatherproofing Wood Finish in Cordovan applied with whatever paint brushes we could find that weren’t completely hardened. We tried using a roller but couldn’t quite get it to apply thin enough and didn’t like the way it was turning out.  First, we used Behr All-In-One Wood Cleaner – the directions on the stain suggested using this first and we still had a whole bottle left over from our failed stripping attempt. Since most of the wood was new, there wasn’t much dirt to clean off but we figured better safe than sorry. According to the stain directions, you can apply your second coat 1-2 hours after the first, but because we started so late in the day we were only able to get the first coat done. While we were working on the first coat, the president of the Homeowner’s Association and his wife just happened to be strolling by. Now, I’m not much of a rule breaker but let’s just say that we are technically supposed to get approval for anything we do to the front of the house and technically we didn’t even ask. Of course when he introduced himself my first thought was “Oh poop” or maybe it was something slightly less appropriate to say in public/to an audience. Luckily for us, it doesn’t seem like that rule is all that strict because the only thing he said about the porch was how nice it looked. Phew. By the end of the night, our porch was looking just a little more welcoming. Look, there’s even a stray flip flop for your pleasure. porchafter2 When we went out to do that second coat the next day, we noticed that the finish on the new wood was a little lighter than the old which makes sense since the old wood started darker. We decided to just do a second coat on the newer wood and it ended up drying to match the older stuff. We’ll probably always keep a rug on the porch which will cover most of the older lumber anyway. The directions say to allow 72 hours to completely cure but ours was still a little tacky around then so we waited an extra day before adding anything back. After a lot of time (which was mostly just procrastination) and a little labor our porch looks like this:


IMG_3099

Which is a lot prettier than this: frontporch We still need to mulch those beds but that’ll happen later this fall, most likely. We had originally said that after we stained the porch we would call the project done but since then, we’ve decided to add hand rails back. We have a design in mind and we may be able to get the first part done before we leave for our trip but we’re not sure. Hopefully we can at least pick up the lumber this weekend and let it start drying out. So much progress! I like it.

Bathroom Plans

July 10, 2014

After talking it through some more, we’re going to take this bathroom project very slowly this time. We don’t want to rush anything and we want to give ourselves plenty of time to fix mistakes along the way. At some point in the next couple of months we’re going on vacation and while we want to get started on the bathroom sooner rather than later, we don’t want to put the same pressure on ourselves this time. Oh and don’t worry, I’ll give you all the vacation details when we get back but I’d rather not advertise when exactly we plan on being away from our house for an extended period.

We had planned on trying to get the whole project done before we leave but there’s that whole taking-it-slow thing that we don’t want to compromise this time around. The new plan is to take down the old drywall, hang the new drywall, mud, sand, and install the new light fixture. That’s it. Slow and steady I tell ya.

I think we have a little bit better idea of what we want to do this time already which is good since we were still trying to make design decisions a couple of weeks before we needed to be done last time. Oh how young and naive we were then…a whole year ago. We’ve grown wiser in our old age.

Our plan for this bathroom is a navy and white color scheme with some sort of added architectural detail.  I know navy is crazy popular right now but blue (especially navy) has always been and always will be my favorite color. My very first “large” purchase was a cobalt blue ceiling fan in 8th grade – it matched my cobalt bedding and looked pretty freaking awesome with my lime green walls. It was also remote controlled which I thought was the coolest thing ever. Man, I was proud of that thing. I think cobalt would be a little much for a powder room but navy I can dig. We want a little bit of a rustic but still somehow modern vanity. I’ve found a few styles I like but our biggest hiccup right now is the actual counter – go raw wood and seal it like crazy? Laminate? Splurge on stone like marble or granite? Laughs for days at that last one – y’all know I’m way too cheap for that.

To give you guys a better idea of what’s in my head, I’ve been looking at bathrooms like these (click on the picture for source – some of them I couldn’t track to the original post but I tried to get close. Downside of pinterest):

I love the navy and white combo here. I think that grass cloth wallpaper is gorgeous but we’ll be sticking with paint. I think the moulding is really interesting but we’ll probably do something a little safer.

navyandwhitebath

I adore this vanity. We were already talking about doing something like this in our master bathroom with a trough sink so building a smaller scale version for the powder room would be good practice.

vanityforhalfbath

I also like the idea of this vanity but I think it may be a little too country cottage and not enough rugged industrial. Is that a thing? Let’s go with yes.

cottagevanity

This bathroom isn’t totally my style but I love the height of the board and batten.

bbbathroom

So, yeah. That’s kind of where we are now and some idea of where we’re heading. I’d say look for a finished project around Halloween. Heck, maybe even Christmas. Let’s not rush this thing, okay?


  • « Previous Page
  • 1
  • …
  • 14
  • 15
  • 16
  • 17
  • 18
  • …
  • 22
  • Next Page »

About

the house on the hill blog
Southern made. Lover of animals. Married to a New Englander. Slowly renovating our 1970s home.
Read More

Archives

Copyright © 2025 · Coffee & Dreams Theme by Themes Hub

Copyright © 2025 · Coffee and Dreams Theme on Genesis Framework · WordPress · Log in


Loading Comments...